Demystifying the Windows Azure Workflow Service Account
If you are setting up Windows Azure Workflow and Service Bus in your SharePoint 2013 farm as per MSDN paper here, it’s important to understand the role of workflow and service bus service account (RunAs account) to create the Windows Azure Workflow farm.
First of all, this account needs to have necessary rights to the SQL Server instance that hosts your SharePoint databases.
Second, you use this account every time you need to join a node to the workflow farm. Note Windows Azure Workflow farm and your typical SharePoint farm are not the same. They can co-exit on the same machine (for dev purposes) but in reality, they are on different machines talking to each other remotely over HTTP or HTTPs.
The workflow farm will act as a workflow execution engine which lives outside of SharePoint. New architecture is all about the performance and scalability!
Windows Azure Service Bus and App Fabric are responsible for handling the widespread communication between the two farms while facilitating the messaging, tracking, persistence,etc.
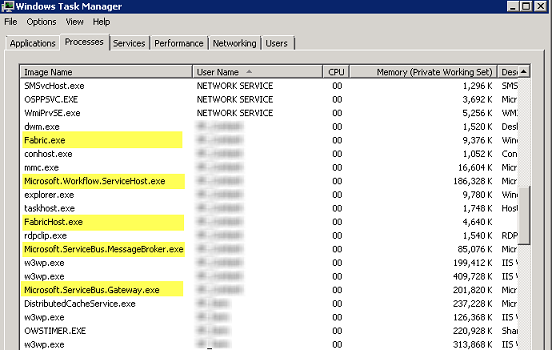
Third, before you run the workflow config wizard on any nodes, you need to logon to that machine using the service account and then run the wizard. The workflow service account is not (and shouldn’t be) same as the farm account you used to install SharePoint. This is the service account that several processes of Windows Azure Workflow host and Windows Azure Service Bus will be executing under:
If you don’t run the wizard while physically logged into the machine, during the last step of the wizard “Add Host to Workflow Farm”, you will get a timeout error:
Add-WFHost : Could not successfully create management Service Bus entity ‘WF_Management/WFTOPIC’ with multiple retries within timespan of 00:02:07.9588733
Note: The timespan indicated in the error message might be different on your machine.
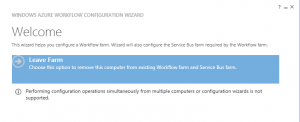
If you are getting this error, you need to clean up the failed installation by running the config wizard again and click on the “Leave Farm”, as shown in the following picture:
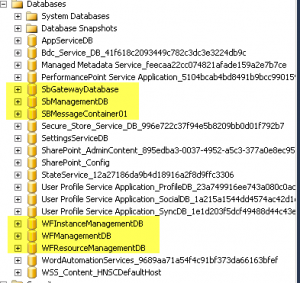
Next, you need to manually delete the associated databases (6 databases):
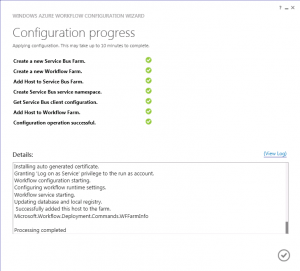
Once you’ve got this nasty bug ironed out , the summary page of the workflow configuration wizard should look like the following picture which is a good sign that you have successfully configured the workflow farm:
Obviously, you still need to pair your SharePoint farm with the workflow farm you just created. Now you need to log back into your machine using the farm account and run Register-SPWorkflowService cmdlet as per the MSDN article. On the SharePoint side, there are two ways to verify the pair up operation has gone successful:
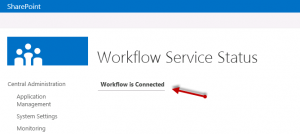
1) When You browse to Central Admin > Manage Service Applications > App Fabric Application Proxy , you should see something like the picture below:
2) Now, you should be able to build declarative SharePoint 2013 Workflows from within SharePoint Designer 2013 and publish them to your SharePoint 2013 farm:
2-1) Open SharePoint Designer and browse to your SharePoint site.
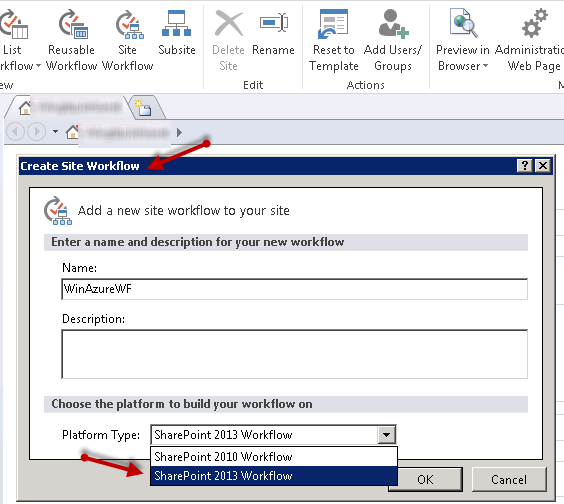
2-2) Create a site workflow and verify that SharePoint 2013 Workflow exits. Go ahead and select it!
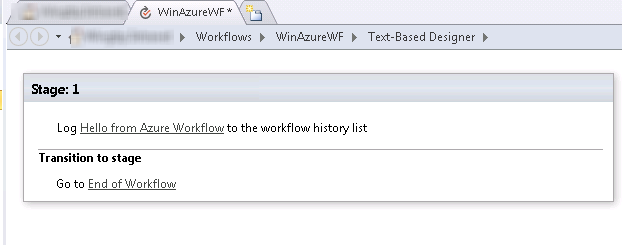
2-3) Add one stage, one action (Log to workflow history) and a “Go to end of Workflow” as the transition to stage condition.
2-4) Publish your workflow.
2-5) Browse to your site > View all Site Content > Site Workflows, and kick off the site workflow you just published.
2-6) Go to the workflow status page and verifying that the entry in the log history has been created.
This is a huge architectural shift in the way you implement your business processes in SharePoint and will definitely help improving the performance of your SharePoint farms.
Enjoy Windows Azure as the new workflow execution host for your SharePoint workflows!
Resources:
http://msdn.microsoft.com/en-us/library/windowsazure/jj193489(v=azure.10).aspx
http://msdn.microsoft.com/en-us/library/jj163276(v=office.15).aspx
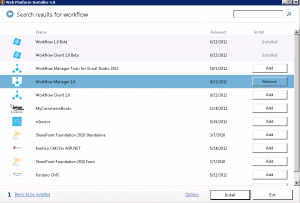
Update: As of Oct 24, Windows Azure Workflow and Service Bus is now named “Workflow Manager” and it’s publicly available in Web Platform Installer (WebPI), Web Platform Installer Command Line (WebPICMD) and directly from download center here.
