Timebombed VM (Part 2):Build
In part 1, I gave you an introduction on what I want to accomplish in these blog post series. In case you haven’t read it yet, please have a look. Now, let’s get your hand dirty:
1) You need to download a trial image first. Let’s get started with this one.
2) Put it in a folder (say “D:\VPC\Trial”) and change the name to MsWSSBaseWithSP1.vhd.
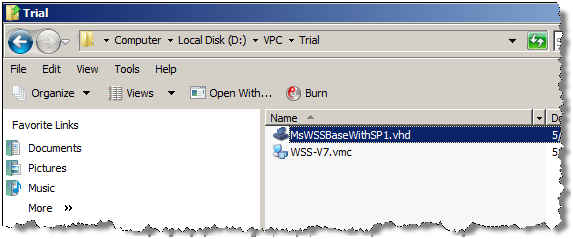
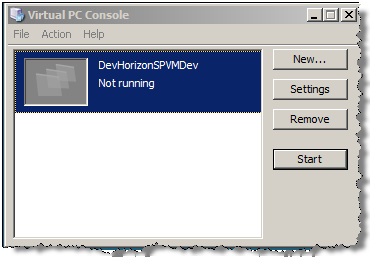
3) Using VPC 2007 , create a virtual machine and point it to the vhd drive you’ve just downloaded. If you are using Virtual Server 2005 R2, read this paper on how to work with differencing drives.
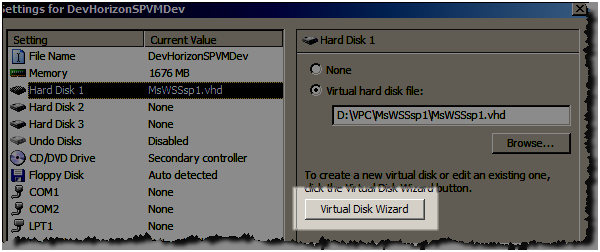
4) Click on Settings, choose Hard Disk 1 and click on Virtual Disk Wizard.
5) Next, choose “Create a New virtual disk”.
6) In next dialog box, choose “A virtual hard disk” and click next.
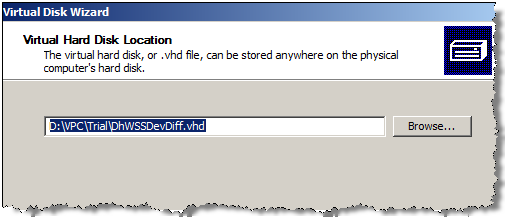
7) Specify “D:\VPC\Trial” as your Virtual Hard Disk Location (same location as you placed MsWSSBaseWithSP1.vhd) and give it a name. I named mine DhWSSDevDiff.vhd.
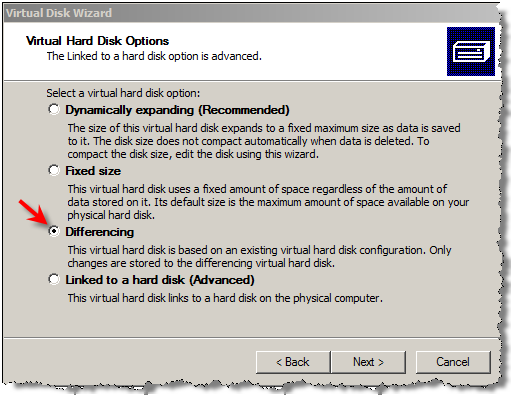
8 ) Next you need to choose Differencing in Virtual Hard Disk Options.
9) Now select “D:\VPC\Trial\MsWSSBaseWithSP1.vhd” as the parent virtual hard disk for your new differencing drive. Then click Finish.
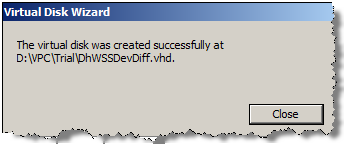
10) You should get a dialog box like below. Also note how small new diff drive is. That’s because, it has nothing on it yet.

11) Before you fire up the virtual machine, make sure you do two things:
- You make the base image Read Only.
- You get the Hard Disk 1 (previously pointing to the base image) to point to the diff drive instead.
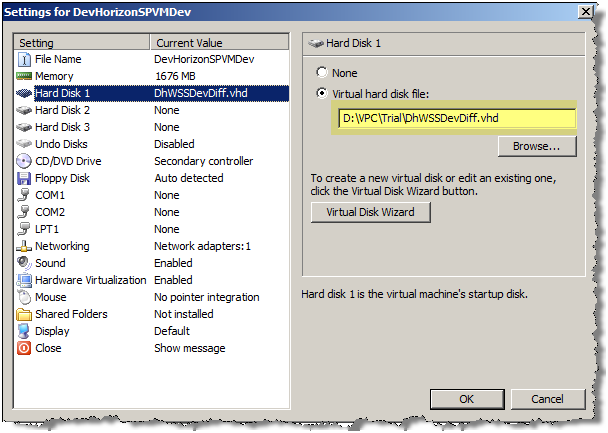
12) Go ahead and fire up new virtual machine.By the time you get to the OS login page, your new diff drive has increased in size.

13) Login and here is your timebombed machine:
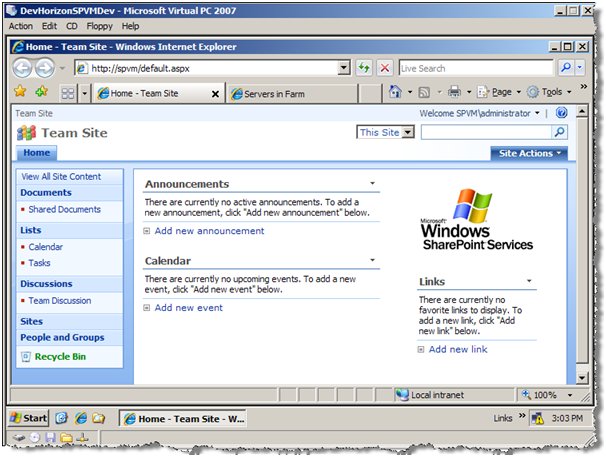
I placed my contact information on the desktop and changed the background so when you download the image, you know that this is my diff drive showing up in your virtual machine. You can download this diff drive from here. Okay, Let’s move on to part 3.

